NFS Server
All settings of the application are internally stored in a small sqlite database which must reside on a persistent volume to survive pod restarts. The same persistent volume is also used to store proxy access logs, statistics and reporting files.
You can use any method available in your Kubernetes cluster to create the persistent volume. In this article we will create a persistent volume on a NFS server.
Install NFS Server
We will use an instance of freshly installed Ubuntu 20.04 as our NFS server. So open the console terminal, run sudo -s to switch to root and execute the following commands to update the system and install the server components.
apt update && apt -y upgrade && apt install -y nfs-kernel-server nfs-common
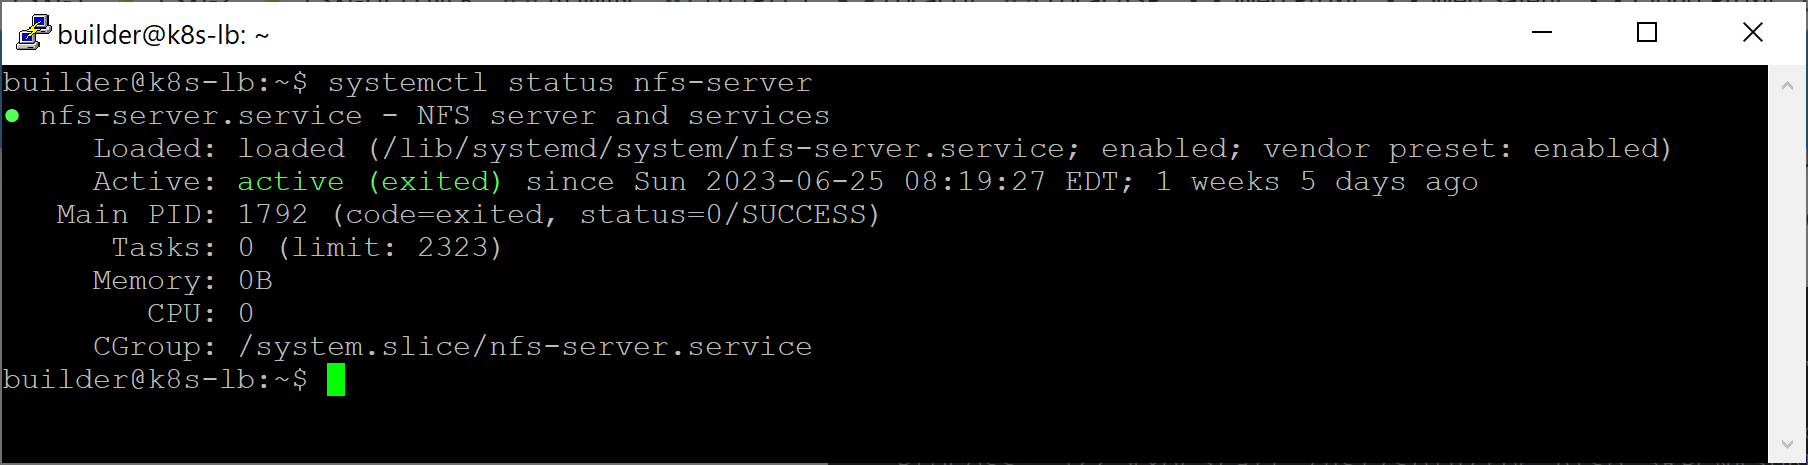
Check the status of the NFS server by running systemctl status nfs-server and make sure the output of this command indicates the server is up and running.
Note, you also need to install the nfs-common package on all your k8s nodes by running the following command.
apt update && apt -y upgrade && apt install -y nfs-common
Failure to do that will result into pod deployment errors like the error below.
  Warning  FailedMount  77s                  kubelet            Unable to attach or mount volumes: unmounted volumes=[cloud-proxy-ui-volume], unattached volumes=[], failed to process volumes=[]: timed out waiting for the condition
  Warning  FailedMount  72s (x9 over 3m20s)  kubelet            MountVolume.SetUp failed for volume "cloud-proxy-ui" : mount failed: exit status 32
Mounting command: mount
Mounting arguments: -t nfs 192.168.10.10:/data/cloud-proxy-ui /var/lib/kubelet/pods/0c4682aa-44e0-4721-abea-09c8a78e844d/volumes/kubernetes.io~nfs/cloud-proxy-ui
Output: mount: /var/lib/kubelet/pods/0c4682aa-44e0-4721-abea-09c8a78e844d/volumes/kubernetes.io~nfs/cloud-proxy-ui: bad option; for several filesystems (e.g. nfs, cifs) you might need a /sbin/mount.<type> helper program.
Create Folders
To create folders which will later be exported as network shares, run the following commands.
# create a folder for sqlite database of cloud-proxy-ui
mkdir -p /data/cloud-proxy-ui
Export Folders
These folders can be exported as network shares using /etc/exports configuration file. In our development cluster worker nodes have static IP addresses from the 192.168.10.0/24 subnet, so our /etc/exports file looks like the following.
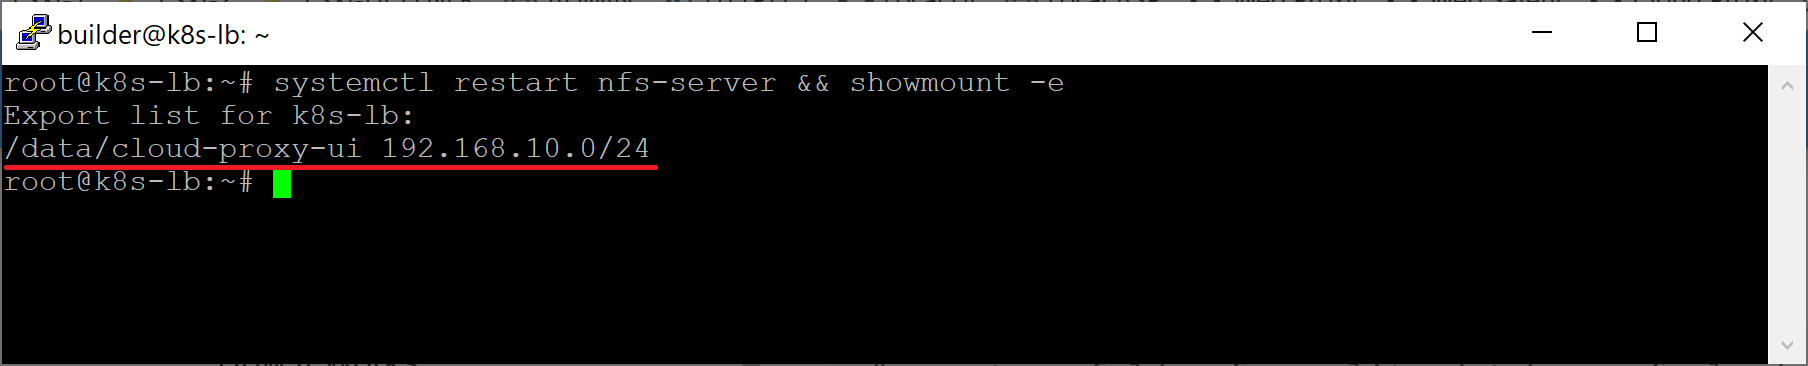
/data/cloud-proxy-ui 192.168.10.0/24(rw,no_subtree_check,no_root_squash)
To activate and verify exported folders, run the systemctl restart nfs-server && showmount -e command as shown below.